5 Photoshop hacks every designer should know
When it comes to the world of graphic design, image manipulation, and photo editing, there’s one software that comes to mind instantly – Adobe Photoshop. For designers, proficiency in a complex software like Photoshop is vital, though few can claim 100 percent mastery over it.
Here are five cool Photoshop hacks you probably didn’t know:
1. Finding the exact centre of a Photoshop file
There’s more than one way to find the exact midpoint of your document, but we’ve outlined the easiest one for you below:
- Open your file and go to the ‘Layers’ section on the bottom right corner.
- Double click on the background image and click on OK to unlock the layer.
- Now select the Move Tool and check Show Transform Tools on the Options
- A mark will appear right in the centre of your page. Position your horizontal and vertical rulers at this point, and you’re done.
2. Photo enhancement
Even the best pictures taken by the finest photographers need correction before they can be published. Simple actions like increasing a photo’s contrast levels, converting it to black-and-white, or adding a filter can transform it far more than you can imagine.
For instance, try this simple contrast trick on a photo:
Open the image file in Photoshop. Select Layer > New Adjustment Layer > Levels. Click OK.

Next, choose ‘Soft Light’ in Blend
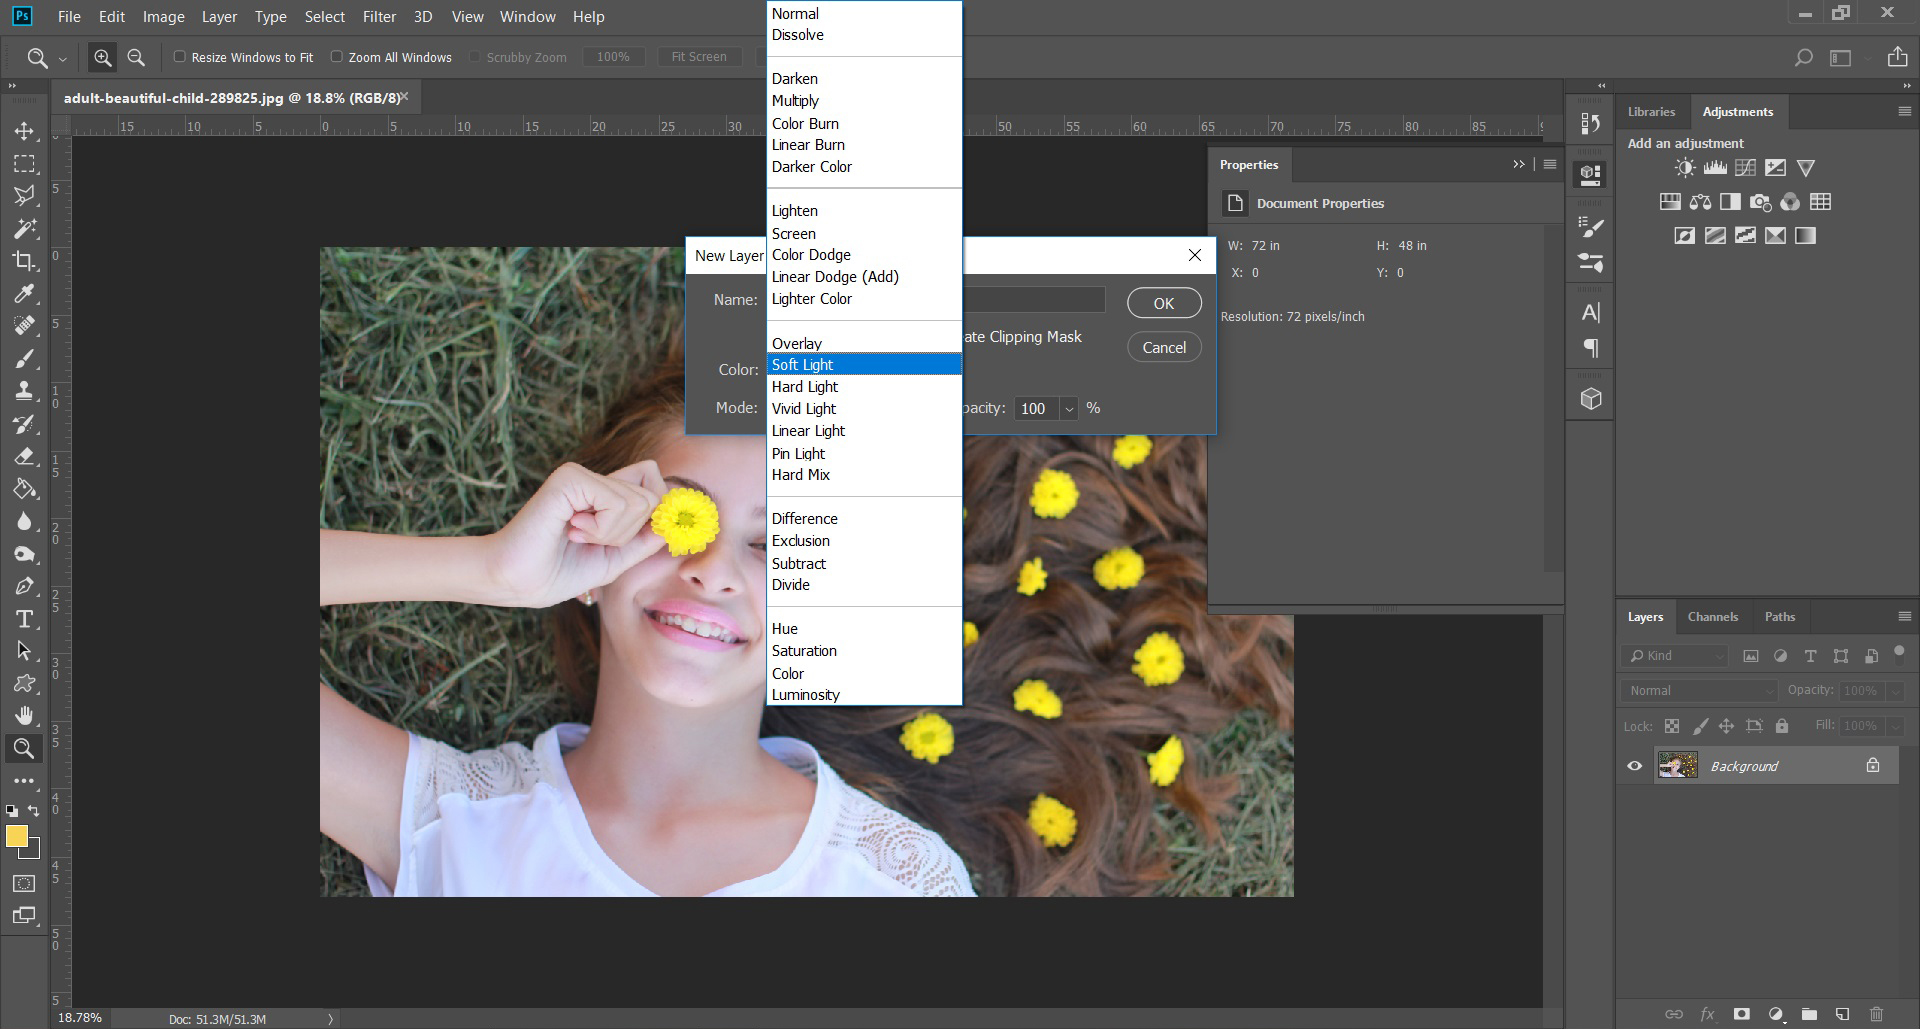
Use the slider to select the level of opacity you want. There is no right or wrong here; it depends entirely on your judgement of what makes the photo look great.
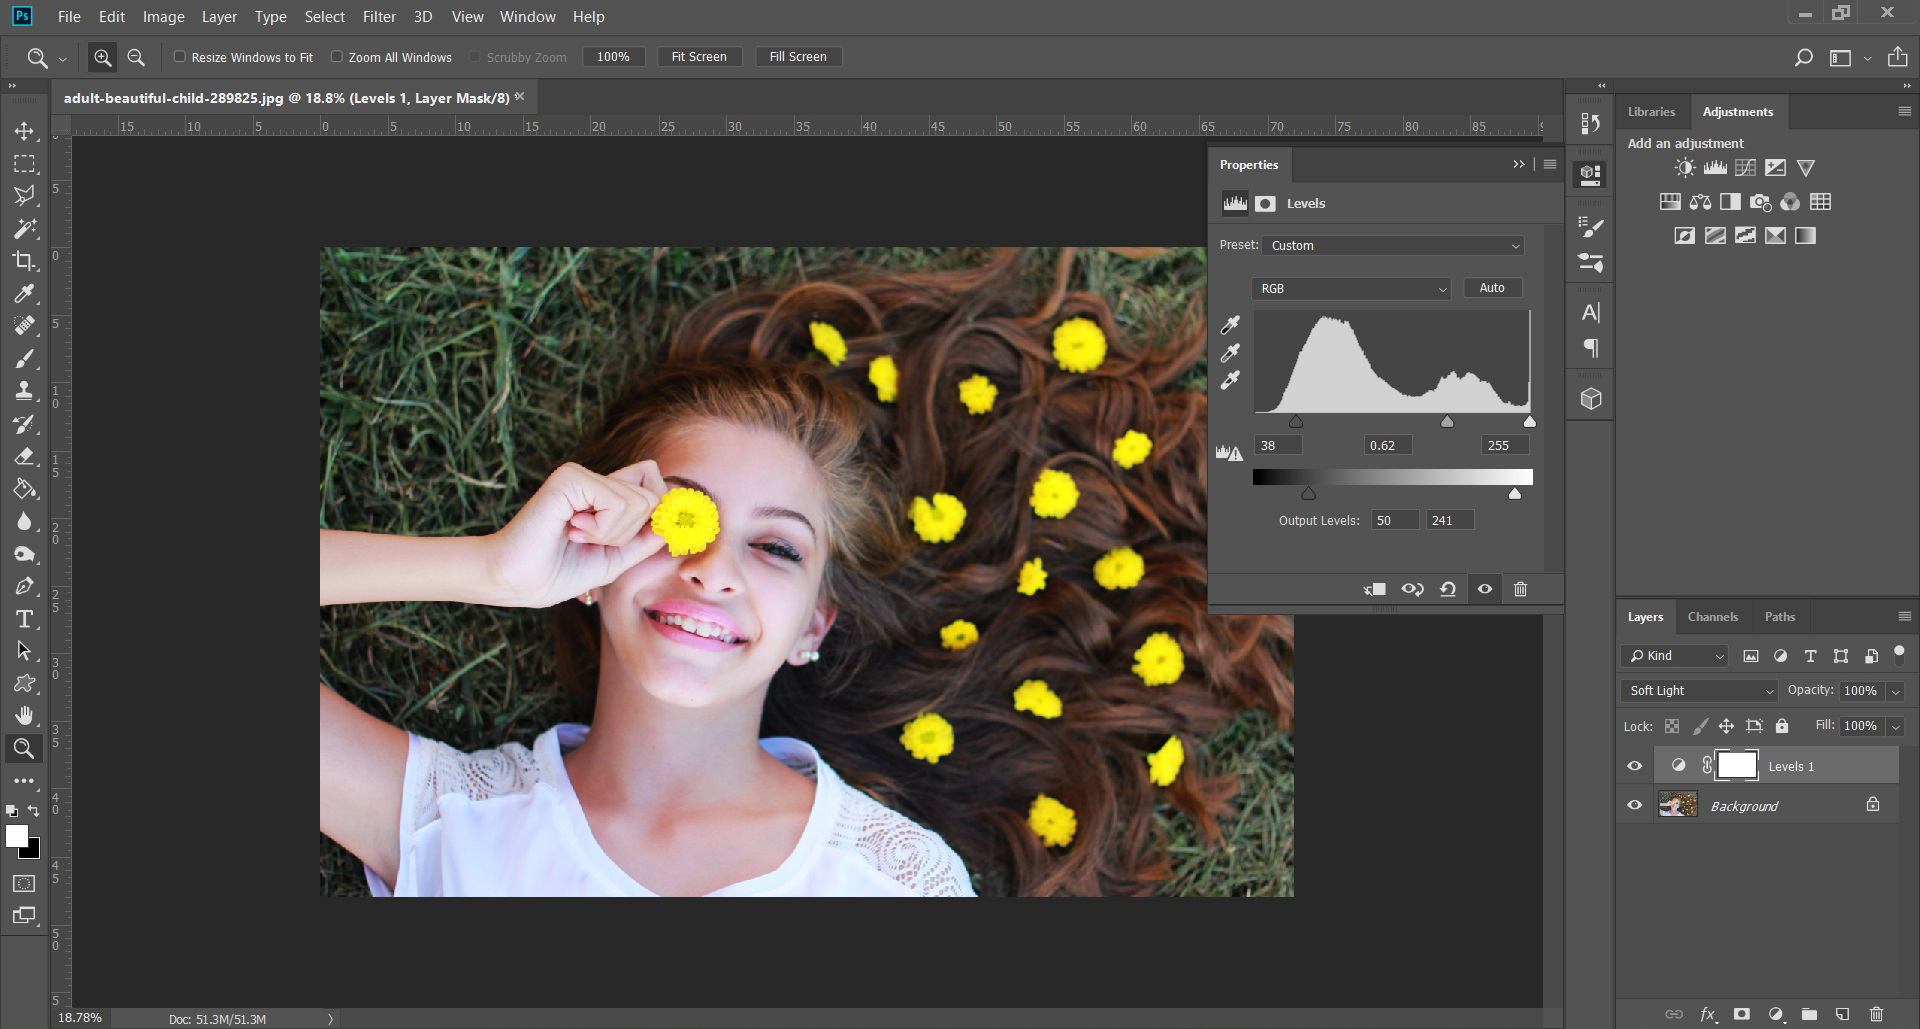
Check out the image below to understand how making minor changes can bring out the best in an image.
(Image credit: Thomas Ingersoll for a blog on Fstoppers)
For more enhancement tips, watch this tutorial by photographer and Photoshop expert Nathaniel Dodson (his channel is Tutvid on YouTube). Here, he demonstrates 10 easy hacks in under 10 minutes.
3. Photo manipulation
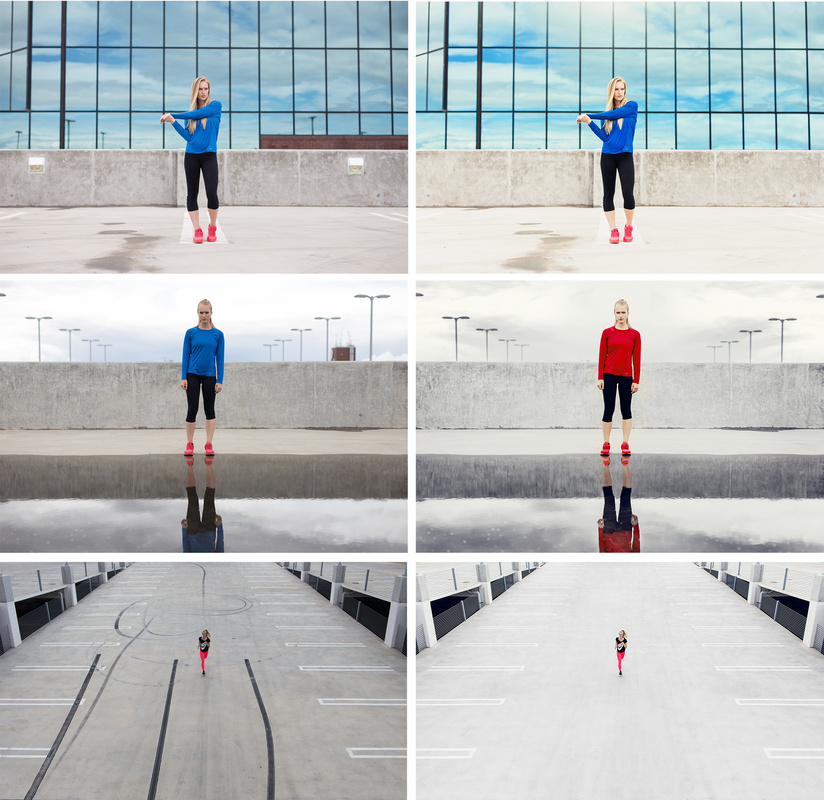
The procedures for photo enhancement and photo manipulation are completely different from each other. A manipulated image mixes elements from the original image with external ones to create new art. It is a great way for artists to express emotions that raw photos cannot.
Consider this image, for instance:

(Photo by Úrsula Madariaga from Pexels)
Mastering image manipulation takes time and practice. Find some inspiration and great ways to learn the art here.
4. Batch processing
As a professional designer, this scenario should be familiar to you: staring at hundreds of photos that either need resizing or quick processing. Having to resize each image manually is unthinkable, but thankfully Photoshop has an option called ‘batch processing’ that allows you to process several photos in one quick go.
Here’s how you can resize images using the batch process option:
- Place all the images you want to process in one folder, open any one of the images in Photoshop, and click on the Actions Create a new action by giving it a name (for instance ‘Resize’).
- Create a new action inside the previous one and name it. Press ‘Record’. This will record all the actions that you execute on this particular image – from resizing to adding filters and anything in between. In this case, let’s assume we are resizing.
- Now move on to defining the image dimensions as you usually would for resizing. Save the image wherever you want. Define the image quality you prefer in the dialog box that opens up.
- Stop recording the action. Go to File > Automate > Batch. Under ‘Play’, key in the first action name (in this case ‘Resize’).
- Under ‘Action’, key in the name of the second action.
- Under ‘Source’, choose the folder you have saved all the images in. Under ‘Destination’, create or choose the folder you want all your resized images to be saved in. Click OK.
That’s it; your photos will all be resized in a matter of a few minutes!
Watch this in-depth tutorial on batch processing, by Nemanja Sekulic. In the video, he explains how this process makes your Photoshop usage more efficient, while demonstrating its various possibilities.
You also have the option of using pre-downloaded actions through sites such as graphicriver, envato and creativemarket.
5. Removing large objects from an image
Removing entire objects from your Photoshop image can be tricky since you have to keep a lot of factors in mind: the lighting of the object and around it, colours, or the fact that you were unable to select it in its entirety. You don’t want to be left with a patchy image, and that’s what makes this challenging.
Follow the steps in this video tutorial by Unmesh Dinda (the PiXimperfect channel on YouTube) for a clear idea on how to do this. In the video, he has manually deleted a large, intrusive video camera from the image with extreme precision and skill. Watch the video here:
Learning newer techniques to master Photoshop may not necessarily make you a better designer, but it will make you a more efficient one. Adopt these great hacks, never stop learning, and watch yourself become more adept at this wonderfully versatile software.